

How to Build a Garden Bed? Have you ever wanted to grow your delicious vegetables, vibrant flowers, or fragrant herbs? By installing a garden bed, you may transform your patio, backyard, or even interior space into a lush haven!
Steps to Building a Garden Bed
Get ready to put in a lot of effort and embrace the rewarding responsibility of caring for your lovely garden bed. The following procedures are involved in building a garden bed:
Set Out the Garden Bed
Lay the longest sleepers down on the lawn where you plan to build your garden bed. If you have sleepers, utilize the concrete footings as a guide to maintain them straight.
Measure the distance at either end between the two sleepers to make sure they are square.
Cut the End Sleepers
You may measure the width of your garden bed by taking the distance between the two longest sleepers. Put in a wooden workhorse sleeper.
Measure the breadth of the sleeper and mark this distance. Put on the safety glasses, dust mask, and earmuffs. Using the circular saw, trim the sleeper to the appropriate length.
Repeat these steps to cut the sleeper for the other end of the garden bed.
Join the Sleepers Together
The end sleeper and the two side sleepers should be joined together to form a U shape. Using the cordless drill, drill a pilot hole near one of the ends of the side sleepers.
Drill a temporary screw in after that. Repeat these techniques to bring the rest of the sleepers together. Use the roofing square to make sure the corners are square.
Plan the Look of the Garden
If you want to keep two plants or trees in your garden bed, measure the distance between the plants or trees and the sleeper’s edge to ensure that the bed looks even and balanced.
Next, use marking paint to indicate this location on the grass at the same distance as the other plant or tree.
Measure and Cut the Sleepers
Using the tape measure, determine the garden bed’s length and split the result in half. This is how long the sleepers should be cut to fit the sides of the garden bed.
Once the length has been marked, cut your sleepers to length. You must cut the sleepers to the same length so that they align in the center of the garden bed.
Lay Sleepers Down the Sides of the Garden Bed
Remove the temporary screw that you drilled into the plant bed to create a U shape at one end. Put two mattresses together on one side.
Drill a temporary screw to secure the sleeper at the other end, forming a corner. Use the roofing square to make sure the corner is square.
When it is square, place the other two sleepers on the opposite side. Check to see if the four corners where the sleepers join are square.
To help you know where to dig a hole for the sleepers, mark the outer corners of each one with marking paint.
Remove the Sleepers
When the corners are square, remove the sleepers. It’s a good idea to mark the locations of the sleepers as you remove them so that everything goes in its right place when building the garden bed.
Remove the Grass
Dig to the required depth after using a mattock to remove the grass. The sleepers will be lowered till their height is 50 millimeters.
You can be sure that by doing this, the grass will not grow back inside the garden bed. Create a ditch that is deep enough so that you can use a lever to raise the concrete slab.
Remove the Concrete
Using a crowbar, lever up and loosen the concrete on all sides. Use a lump or sledgehammer to break up the concrete pieces into smaller pieces.
Once the concrete has been fractured, use the crowbar to lift the broken pieces. Put these in a wheelbarrow to transfer.
Create a trench that is 50 mm above the ground for the sleepers to rest in. To get rid of the remaining grass, use the mattock.
Screw the Ends of the Garden Bed Together
When the trench is at the right depth, begin to link the ends of the garden bed. Using batten screws, attach a sleeper on the side of the garden bed to the end.
Each joint should have two screws installed, one at the top and one at the bottom. Repeat these instructions for the opposite end of the garden bed.
Once the two ends are connected, ask someone to help you hoist them into place.
Put the Sleepers in Place
Align the quartet of lateral sleepers. Run a string line from one end of the garden bed to the other to make sure the sleepers are straight.
To do this, fasten your string line to the screws drilled into the two ends of the garden bed. Verify that the sleepers are straight and at the appropriate height. Repeat these procedures for the sleepers on the other side.
Secure the Sleepers with Stakes
once everyone sleeping is upright and at the proper height. To bring them together in the middle, hammer in a stake.
To connect the sleepers, drill four galvanized screws into the stakes. When the sleepers reunite on the opposite side, repeat these steps.
To keep your garden bed firm, you might need to drill and hammer in extra stakes, depending on how big it is. To ensure that the dirt in your garden bed is level, backfill it.
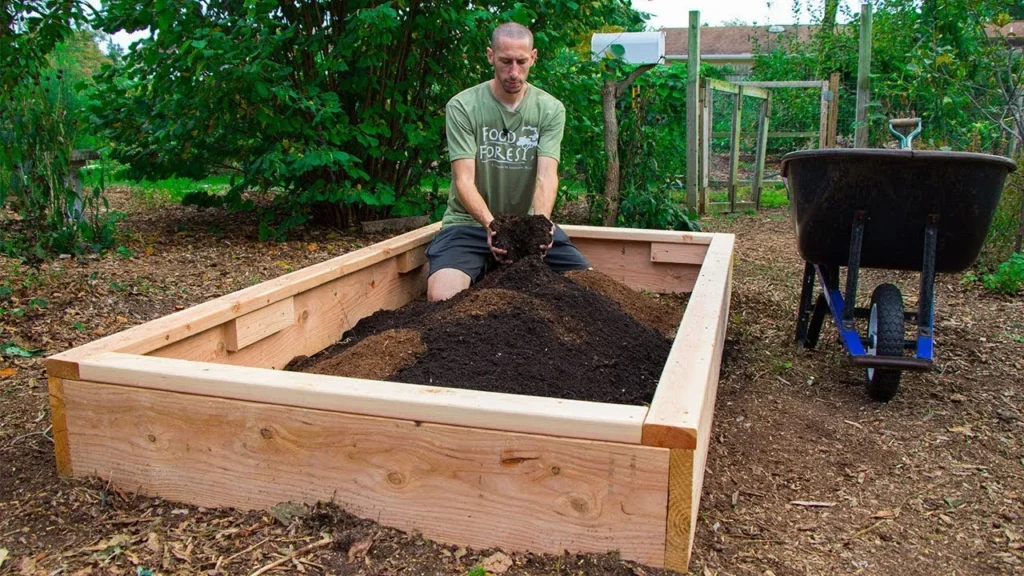
Now that your garden bed is finished, add the compost and fertilizer your plants need to thrive.
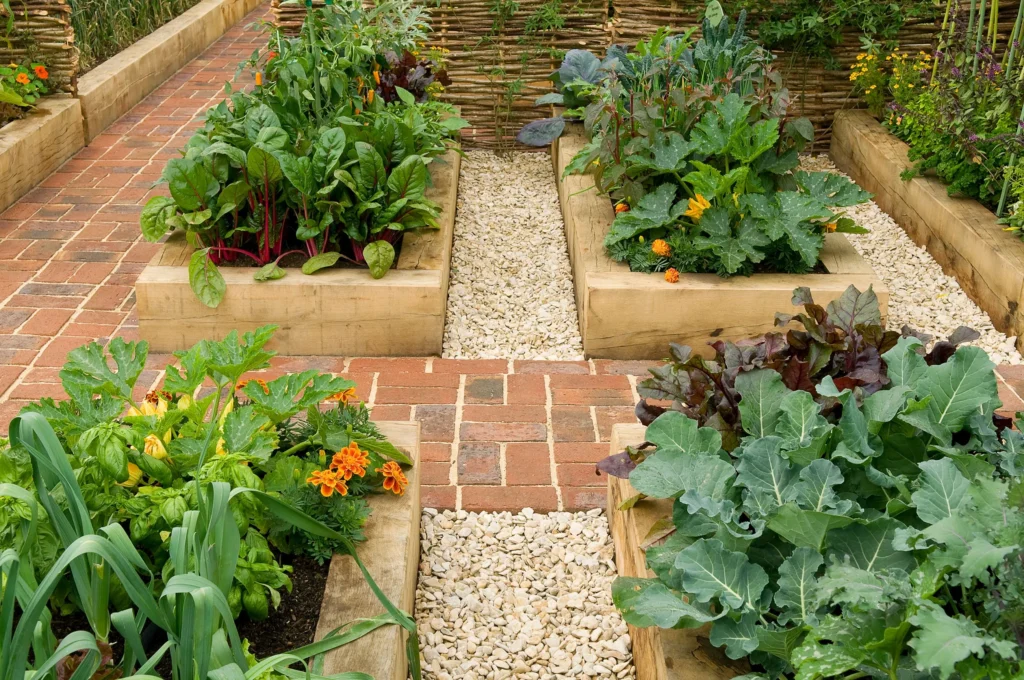
Benefits of Garden Beds
Planting gardens in beds has several advantages, such as:
1. They aid in reducing erosion and drain effectively.
2. Because the soil elevated above the ground warms more quickly, it provides you with a longer growing season by warming up early in the spring.
3. You may plant densely in raised beds because you can control the soil you add to them. Closely spaced plants in raised beds also mature more quickly.
4. Because the beds are raised above the surrounding weeds and packed with disease- and weed-free soil, they prevent weeds from taking over.
5. The soil remains loose without needing backbreaking digging every spring because you are not walking on the bed. Raised beds aid in maintaining order and discipline.
6. Less bending and kneeling means easier and more pleasant garden work. Preserve your back and knees from the stress and agony of gardening!
7. In limited locations, where a traditional row garden can get too wild and unmanageable, raised beds are perfect.
8. Crop rotation and separation get simpler each year.
9. Companion planting and square-foot gardening are made easier with raised beds.
Conclusion
You’ve constructed your very own garden bed with a little forethought and work. The exciting part is about to begin: picking out the ideal plants to put inside and seeing your produce grow naturally.
Recall that gardening is an educational and exploratory experience.
Try experimenting with different plants and gardening methods; you’ll be happy you did when you can grow your fresh veggies or gorgeous flowers. Cheers to your successful gardening!
1 Comment
Pingback: How to Garden in Raised Bed on Pavement?